
Home Showing Checklist for Sellers: Step-by-Step Preparation
Get a practical home showing checklist for sellers with steps from weeks ahead to showing day to prepare your home effectively.
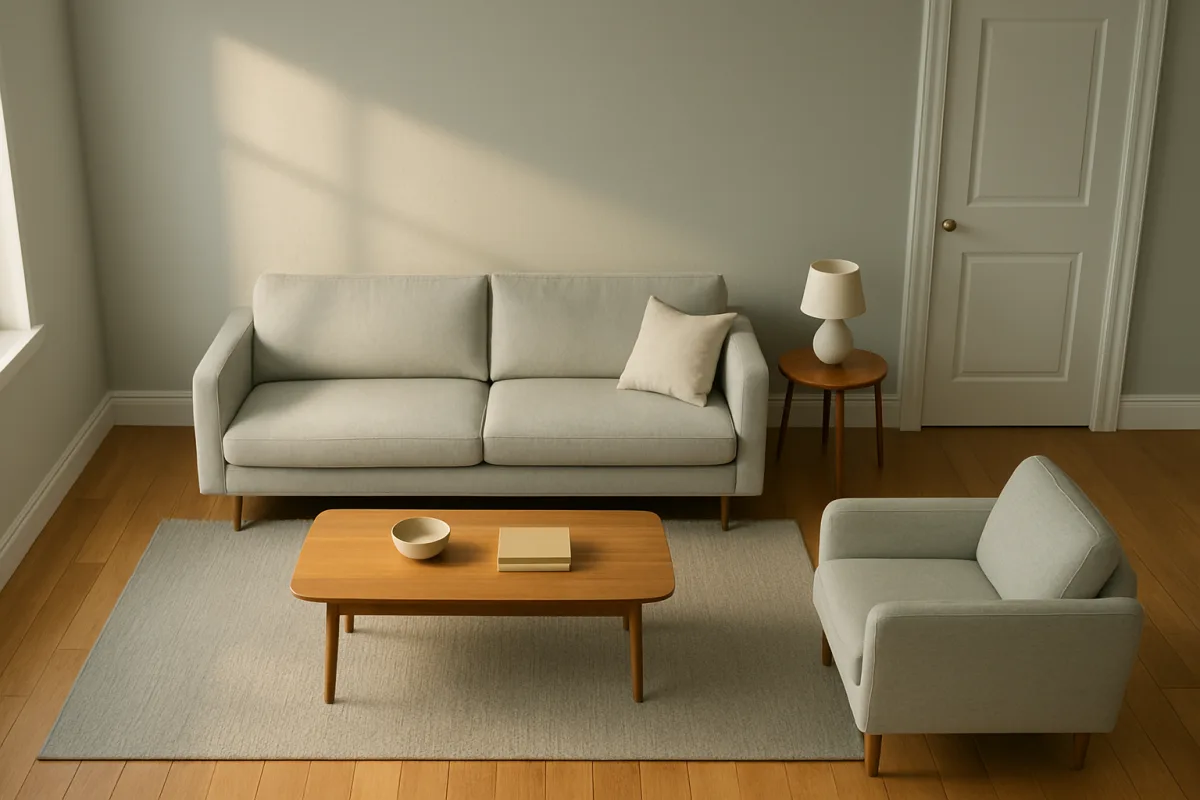
Preparing Your Home for a Showing: A Seller’s Practical Checklist
Six to eight weeks out: decide what buyers need to see
The first showing problem is not a dirty counter. It is trying to prepare the whole house at once, after the listing date is fixed. A workable preparation schedule starts roughly 6 to 8 weeks before showings. [9][10]
About 4 to 6 weeks before listing, arrange a staging consultation if you expect to use one and begin decluttering. [9] A consultation can provide a room-by-room plan without committing you to full-service staging, and published estimates put that appointment at $150 to $600. [11]
Start by walking the house as a visitor would. Stand at the curb, enter through the primary door, and move through the rooms in the order a buyer likely will. Note anything that communicates unfinished maintenance: a dripping faucet, loose pull, chipped paint, cracked caulk, or scuffed trim.
These are modest defects individually, but buyers use visible condition to form an opinion about how the property has been maintained. Floors, walls, trim, bathroom grout, cabinet condition, ventilation, and moisture signs receive particular attention during walkthroughs. [26]
Do not assume every repair has the same payoff or urgency. The research does not provide a dependable price list for showing-focused minor repairs. Kiplinger’s $14,163 average for pre-sale repairs is a broader figure, not a budget for touching up paint or replacing a handle. [5]
That distinction matters when setting a spending limit. Ask for quotes on work you cannot safely complete yourself, then compare the cost with your local market conditions, your planned listing timeline, and the defect’s visibility. This is practical information, not advice to sell or spend a particular amount.
Four weeks out: make the outside match the listing photos
A buyer begins forming an impression before reaching the lockbox. Mow the lawn, trim shrubs, remove dead plants, sweep the entry, clean the front door, and make sure the approach is clear. HAR specifically recommends lawn care, shrub trimming, door cleaning, and fresh flowers for curb appeal. [2]
Look closely at the path buyers will use. Peeling exterior paint, overgrown landscaping, and neglected walkways are common showing mistakes because they make routine upkeep look uncertain. [28] Clear the porch of packages, outdoor tools, worn mats, and surplus furniture.
Season changes the work. In spring, prioritize a manicured lawn, flowers in bloom, and daylight. [13][14] In fall, clear leaves from walkways and gutters rather than treating them as seasonal background. [14][16]
Winter preparation is more functional: remove snow and ice from the route to the door. [15][17] In warm climates, outdoor areas deserve the same reset as indoor rooms, because patios and yards may be part of how buyers judge usable living space. [14]
Three weeks out: remove clutter without making the house look vacant
Decluttering is not a request to erase every sign of life. The goal is to let buyers see the room dimensions, storage capacity, and traffic flow rather than your belongings. Remove excess possessions, personal photos, highly specific collections, and items crowding closets or shelves. [4]
Start with the entryway. A clear entry gives visitors somewhere to pause and directs attention into the home instead of toward shoes, coats, bags, and household overflow. Organized spaces also make it easier for buyers to focus on the property itself. [24]
Then reduce furniture in the living room. One showing-preparation guide recommends removing about 30 percent of the furniture, arranging what remains into conversation areas, maximizing natural light, and using neutral pillows or rugs. [8][29]
The kitchen is where clutter often returns fastest. Clear counters except for a restrained accessory, such as a bowl of fruit, and put away cleaning supplies, pet items, paperwork, small appliances, and refrigerator magnets. [29] Buyers need to see usable counter space, not evidence of daily kitchen logistics.
If cabinet hardware is visibly dated or mismatched, low-cost replacement may be worth pricing. One staging guide puts basic cabinet hardware at about $3 to $5 per piece. [29] That is a product-cost reference, not a prediction of your installed total, since quantities and labor vary.
In the primary bedroom, use simple neutral bedding, clear nightstands except for one small accessory, and store surplus clothes so the closet looks usable. [27] Depersonalizing should still leave enough furnishings for a buyer to read the room’s purpose.
Avoid overcorrecting. A home stripped of all furniture, warmth, or function can feel sterile. [22] The practical test is whether a visitor can picture how the room works without being distracted by the owner’s possessions.
Two to three weeks out: clean the places buyers inspect closely
Deep cleaning should happen after major decluttering and before final staging. Homes.com recommends addressing baseboards, windows, light fixtures, carpets, upholstery, appliance interiors, and bathrooms, rather than limiting the job to floors and counters. [3]
Work from the details outward. Dust baseboards and ceiling fixtures, wipe fingerprints from doors and switches, wash windows, and inspect walls and trim for scuffs, stains, and cracks. Visible grime can raise questions about maintenance even when the issue is cosmetic. [23][24]
Treat kitchens and bathrooms as inspection-minded rooms. Clean appliance interiors, cabinet fronts, sinks, grout, mirrors, exhaust areas, and shower surfaces. Buyers commonly notice cabinet condition, grout, ventilation, and any signs of moisture in these rooms. [26]
Odor requires source control, not fragrance. Remove pet bedding, empty trash, clean drains, wash fabrics, air out rooms, and address smoking or cooking odors. Heavy candles, plug-ins, and perfume-like sprays can backfire because buyers may suspect they are covering a problem. [3][21][24]
If you live in a humid climate, ventilation and dehumidification can help prevent dampness and mold-related concerns. In dry climates, maintaining indoor humidity can protect wood surfaces. These are climate-specific maintenance checks, not universal showing requirements.
One to two weeks out: stage only where it helps buyers read the space
Staging is a presentation expense, not a guaranteed return. The sources provide costs but no reliable evidence that a particular staging budget produces a specific sale-price increase or number of days saved. Your market, home condition, competition, and timeline determine whether the expense fits.
For an occupied home, reported staging costs commonly range from $1,000 to $3,000. [12] A vacant home is more expensive to furnish temporarily, with estimates of $3,000 to $6,000 per month, while individual rooms may run $300 to $700 monthly. [12]
Virtual staging is a different tool, mainly for listing images rather than an in-person showing. Homes.com reports a range of $35 to $1,000 per room. [3] If you use it, ensure the real property is ready to meet the expectation created by the photos.
Use neutral colors and minimal decor, but preserve clear function. Arrange seating to show a living room’s scale, keep the dining area recognizably usable, and stage outdoor seating in summer or warm-weather markets where exterior living space matters. [6][14]
Professional photography generally follows staging installation by several days. One recommended schedule places staging 1 to 2 weeks before listing and photography 3 to 5 days before listing. [9] Photograph after the property is clean, repaired, and staged, not while those jobs are still underway.
Showing day: solve comfort, access, and security
The day of a showing is when routine living creates the most problems. Make a short reset list and use it every time: make beds, clear counters, empty bins, put away pet supplies, wipe bathroom surfaces, and check that the entry remains unobstructed.
Open blinds and curtains to maximize natural light, then turn on appropriate interior lights. [2] Replace burned-out bulbs beforehand so rooms are evenly lit. Natural light and working lighting help buyers see the home, while dark corners can make rooms seem smaller or less maintained.
Set a comfortable temperature. Homes & Gardens suggests around 68 to 70 degrees Fahrenheit, or 20 to 21 degrees Celsius. [7] Summer and winter showing guidance often calls for 70 to 72 degrees Fahrenheit, or 21 to 22 degrees Celsius. [15] The appropriate setting depends on outdoor conditions and your local climate.
Before leaving, secure medication, mail, financial records, jewelry, firearms, small electronics, keys, and other valuables. HAR recommends securing personal and valuable items before showings. [2] Do not leave identifying documents on desks or counters simply because the showing is scheduled.
Leave the house during the appointment. Zillow identifies a seller’s presence as a common mistake because buyers may feel uncomfortable speaking freely or spending time in a room. [20] If you have pets, arrange for them to be elsewhere when practical.
Make access easy within your safety requirements. Restrictive showing schedules can reduce opportunities for buyers to see the home, while flexibility better accommodates buyer availability. [8][20] That does not mean accepting unsafe access or abandoning your normal security procedures.
Finally, avoid asking every visitor to remove shoes. Zillow notes that this can create friction during a showing. [20] Use a clean entry mat and provide shoe covers or booties when weather or flooring makes them sensible.
Adjust the final check for weather and local conditions
A showing checklist should change with the season rather than staying frozen at summer standards. Spring calls for landscaping and daylight. Summer requires comfortable indoor cooling and presentable outdoor areas. [13][14]
In fall, keep leaves out of gutters, paths, and entry areas, and use seasonal decor sparingly so it does not become clutter. [14][16] In winter, prioritize safe access, adequate heating, and light, especially when shorter days make rooms naturally darker. [15][17]
Regional conditions also affect what buyers notice. In a cold market, make energy-efficient features visible and understandable. In a warm market, confirm that air conditioning functions properly and that outdoor spaces look maintained. These details support the basic promise of a comfortable, cared-for home.
Pricing, negotiations, loan terms, escrow, inspections, and closing costs can all affect a transaction later, but they are not substitutes for showing preparation. I am not a licensed real estate agent, lender, or financial adviser. The right preparation budget and timeline depend on your property’s condition, local competition, and schedule.
Frequently Asked Questions
What is a practical checklist for preparing my home for a showing?
Start by enhancing curb appeal with lawn care, shrub trimming, cleaning the front door, and adding fresh flowers. Deep clean the entire home, including baseboards, windows, and bathrooms. Declutter and depersonalize by removing personal items and organizing storage. Make necessary repairs such as fixing leaks and chipped paint. On showing day, secure valuables, turn on lights, open window coverings, and set a comfortable temperature.
How far in advance should I start preparing my home for showings?
Begin preparing your home about 6 to 8 weeks before listing. Around 4 to 6 weeks out, start decluttering and schedule a staging consultation if desired. Repairs and landscaping typically happen 3 to 4 weeks before listing, followed by deep cleaning and final decluttering 2 to 3 weeks out. Staging installation usually occurs 1 to 2 weeks before listing, with professional photography 3 to 5 days prior.
What repairs and cleaning should I prioritize before a home showing?
Focus on fixing small but visible defects like leaking faucets, loose hardware, peeling paint, and damaged trim. Clean thoroughly to inspection-level standards, paying attention to fingerprints, stained grout, dusty trim, moisture signs, and odors. Neutralize odors by eliminating their sources rather than masking them with fragrances.
How do I maintain a show-ready home over several weeks?
Maintain curb appeal by regularly mowing the lawn, trimming shrubs, and keeping the entryway clean. Keep the home clean and clutter-free, continuously organizing closets and storage spaces. Monitor and address any maintenance issues promptly to avoid visible defects. Adjust indoor temperature to a comfortable level and ensure natural light is maximized by keeping window coverings open.
What should I do on the day of a home showing to impress buyers?
Leave the property to allow buyers to explore freely. Secure all valuables and personal items. Turn on all lights and open blinds or curtains to maximize natural light. Set the indoor temperature to a comfortable range around 68–70°F (20–21°C). Avoid overly strong scents or excessive styling to create a welcoming but neutral environment.
How we researched this
This article was assembled from 29 cited references.
Nothing here is based on hands-on testing. Where a figure or finding appears, it belongs to the source cited beside it, and the writing says so rather than implying otherwise. Every source is listed below so you can check it.
Sources
- Home sellers are lowering their price and helping buyers to make a deal in a stagnant market
- Preparing Your Home for Showings: A Seller's Checklist (2026 Guide) - HAR.com
- How to prepare your home for sale - Homes.com News
- 15 Essential Steps to Prepare Your House for Sale in 2026 | Opendoor
- Simple Upgrades That Can Help Your Home Sell Faster
- Home staging checklist: room by room, what sellers should do before photos and showings | Kadapt
- How to Prepare Your Home for Thanksgiving - The 7 Things That Make a House Look And Feel Effortlessly Ready
- Showing Prep Guide for Home Sellers | Northern NJ | Falco Group
- Home Staging Guide Austin TX (2026) | Neuhaus Realty Group
- Cleaning Before You Sell Your House: A Pre-Listing Plan | Vella
- How Much Does Home Staging Cost? Averages, Factors, and ROI - LegalClarity
- Home Staging in 2026: Costs, ROI & Strategy Guide | Sekira Blog
- Home Selling Checklist: Step-by-Step Guide | Holmestage
- Helpful Home Selling Tips For Every Season
- Five Tips For Selling Your Home In the Winter
- Mastering Seasonal Home Selling: Tips for Every Season - Toxigon
- Adapt Your Home to Its Selling Season | HGTV
- Common Mistakes Home Sellers Make (and How to Avoid Them in Today’s Market) - Nicole Lewis, REALTOR®, PSA, e-Pro
- Dos and don’ts for sellers during a home showing
- Tips for Showing Your House | Zillow
- What are the 25 Home Showing Mistakes That Can Cost Sellers an Offer?
- 10 Common Home-Selling Mistakes to Avoid Before Photos and Showings - The Welker Group
- What Buyers Actually Notice During Showings | Reardon Partners
- What Buyers Notice Immediately During Home Showings
- What Buyers Really Notice During A Home Walkthrough
- What Buyers Secretly Notice During Showings: An Expert Guide for Sellers – Decatur GA Real Estate
- How to Depersonalize Your Home | Redfin
- Common Home Showing Mistakes Sellers Make - REMAX Blog
- Home Staging Tips That Actually Sell Houses: What Works in 2026
Related Articles
Prepare for a Home Showing During Winter: Essential Tips
Learn how to prepare for a home showing during winter with tips on snow removal, thermostat settings, and managing wet boots for a safe, inviting visit.
Prepare Your Home for Showings: Essential Steps for Sellers
Learn how to prepare your home for showings with tips on repairs, staging, decluttering, and timing to attract buyers effectively.

How to Prepare for a Home Appraisal: Essential Tips
Learn how to prepare for a home appraisal with tips on repairs, pricing, and documentation to help maximize your home's value.
Home Closing Process: What to Expect During Closing
Learn what to expect during the home closing process, including escrow, inspections, earnest money, and closing costs.