
How to Stage a Home for Virtual Tours: Essential Tips
Learn how to stage a home for virtual tours with expert tips on lighting, decluttering, photography, and room prioritization for better online showings.
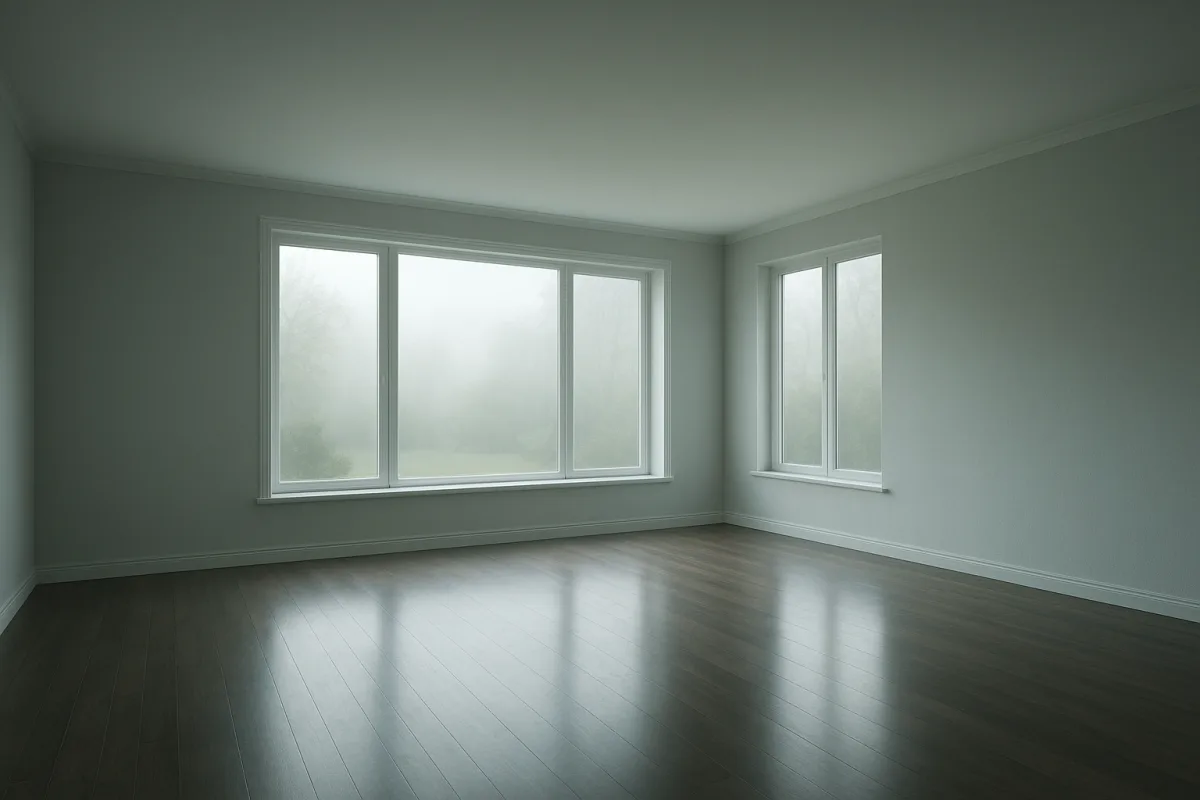
Start with the listing photos, not the digital furniture
Online buyers make their first decision from still images and a tour thumbnail. If the underlying room looks dim, crowded or badly photographed, adding a virtual sectional will make the listing look manipulated rather than more livable.
Compozit recommends a DSLR or mirrorless camera with a 16 mm to 24 mm equivalent wide-angle lens, natural light and no on-camera flash. [1] A phone can document a room, but the brief supports investing in more controlled photography when virtual staging is part of the marketing plan.
Wide-angle does not mean using the widest possible setting for every room. Excessively stretched walls and oversized-looking rooms create a mismatch when buyers arrive in person, which can undermine confidence in every other representation in the listing.
Set the camera at approximately chest height, around 4.5 to 5 feet from the floor, and use a bubble level so vertical lines stay vertical. [1] Photographing from a corner that captures two walls generally gives viewers enough context to understand a room’s shape.
Use a tripod rather than trying to handhold a dim interior. Recommended real-estate settings include an aperture around f/7.1 to f/9, ISO 100 to 400, and shutter speeds from 1/60 second to one-half second, depending on available light. [1]
Those settings are a starting point, not a universal prescription. Your home’s window direction, wall colors, lighting and camera all matter, and an exposure that works in a south-facing living room may not work in an interior bedroom.
Clear more than you would for an open house
A virtual tour gives a buyer time to pause, zoom and revisit a room. That means personal objects and visual clutter that might pass unnoticed during a 15-minute showing can dominate a screen. Smarty recommends more extensive decluttering and depersonalization for virtual tours than for in-person visits. [14]
Start by removing family photographs, refrigerator magnets, countertop appliances, pet equipment, medication, toiletries and collections. Homepics also advises cleaning surfaces and removing personal items before creating virtual-staging images. [2]
Then reduce furniture. The goal is not an empty-looking house, but a room whose circulation and dimensions are immediately readable. Virtual staging guidance warns against over-staging and recommends leaving 30% to 40% of floor area visible. [9]
That floor-space rule has a practical effect. If a living room contains a large sectional, two recliners, a coffee table, a media console and several side tables, remove enough pieces before photography that the digital design does not need to hide the room’s actual tightness.
Do not rely on virtual staging to erase every real object. A buyer who tours the property in person should be able to identify the room shown online, including its built-ins, windows, flooring, ceiling height and any fixed limitations.
Fix light and comfort before recording the tour
Open curtains and blinds, turn on appropriate interior lights and schedule photography for the time of day that gives the home its most balanced natural light. Smarty specifically recommends maximizing lighting through window treatments, added lights and timing. [14]
Avoid on-camera flash. Compozit advises natural light instead, while professional real-estate workflows commonly combine ambient light with bounced off-camera flash or use HDR bracketing to balance bright windows against darker interiors. [1]
The result should look like the room, not like a filter. Inconsistent lighting between adjacent images is a common virtual-staging problem because furniture, shadows and window light can appear to come from different directions. [10][11]
If people will be present while you record a guided virtual tour, make the house physically comfortable as well. General indoor-comfort guidance places common living-area temperatures around 68°F to 72°F, while bedrooms are often kept cooler. [13]
That temperature does not change what appears on camera, but it matters if an agent, photographer or seller is walking through the property on a live video call. There is no virtual-tour-specific evidence supporting scented products, so neutral cleanliness is safer than strong fragrance.
Choose the rooms that earn the staging budget
If you cannot stage every image, start with the living room, primary bedroom and kitchen. Stager Go identifies those rooms as the priority spaces for buyer impact, which tracks with how buyers judge everyday livability from a listing. [3]
In the living room, show a plausible conversation area and an obvious path through the room. Avoid filling every corner with chairs or decor, because the buyer needs to see whether the space fits their own furniture and routines.
In the primary bedroom, use appropriately scaled furniture and keep bedside surfaces simple. An oversized virtual bed can make a small room look falsely generous, while a tiny bed in a large room makes the image feel oddly empty.
In the kitchen, virtual staging should be restrained. Clean counters, a few believable accessories and visible work surfaces are more useful than a digitally crowded breakfast spread, especially when buyers are trying to assess cabinet storage and prep space.
For secondary bedrooms, offices and flex rooms, virtual staging can clarify possible uses. A vacant room can be shown as an office, nursery or guest room, but the image should not imply that a legal bedroom, closet or finished area exists where it does not.
Match the design to the property, not a template
Virtual furniture should suit the home’s architecture, price range and likely buyer. Stager Go recommends matching furniture style to the property type and target demographic rather than applying one generic design package to every listing. [3]
A compact urban condo may call for scaled-down contemporary furniture that shows workable circulation. A traditional suburban home may read more naturally with warmer, more conventional pieces. The purpose is to help viewers understand scale, not to impose a lifestyle story.
Keep the style consistent from room to room. Easy Room AI identifies inconsistent decor as a common problem, and buyers can notice when one room is minimalist, the next is farmhouse-themed and the next is presented as a luxury hotel suite. [10]
Check furniture scale against doors, windows and ceilings before approving the final image. Also inspect for objects that appear to float, shadows that do not touch the floor and rugs or table legs that cut awkwardly across room boundaries. [9][11]
These details matter because buyers may not know the technical term for a bad composite, but they can recognize when an image feels artificial. The savings from AI staging are not useful if the image causes a buyer to question the listing.
Decide whether furniture is enough, or whether to show a renovation concept
Virtual staging adds movable furnishings. Virtual renovation goes further by showing potential changes such as updated finishes, revised surfaces or other design possibilities beyond furniture. FotoEstate describes virtual renovation as a way to show a property’s potential. [4]
Use that distinction carefully. A digitally furnished empty room is one thing. Showing a renovated kitchen, new flooring or altered finishes can be useful, but it also creates a greater risk that buyers will mistake a concept for the home’s current condition.
If you use renovation imagery, retain and prominently include unedited photos of the existing space. The listing should make clear what is present today, what is virtually staged and what is a hypothetical improvement that would require money, time and approvals.
This is also where the housing math matters. A virtual renovation image can help explain potential, but it does not estimate contractor pricing, permit costs, financing terms or resale value. Those answers depend on the property, local market and your timeline.
Price the staging method before ordering edits
Virtual staging is usually less expensive than physically furnishing a home, but the quotes vary substantially by method. Propwalk reports 2026 pricing of roughly $20 to $50 per human-edited virtual-staging photo and $0.25 to $5 per AI-generated photo. [6]
For comparison, House AI places occupied traditional staging at about $1,000 to $3,000 and vacant-home staging around $4,000 to $6,000. [8] Those traditional figures generally reflect physical furnishings and staging services, not an automatic guarantee of photography, repairs or listing preparation.
An AI edit may make sense when you need several images quickly and the rooms are straightforward. Human-edited staging may be worth pricing when the room has unusual geometry, important architectural details or tricky lighting that makes realistic shadows and scale harder to achieve.
Before comparing quotes, count the images that actually need staging. A seller might stage three priority rooms plus one flexible room, rather than paying to alter every bathroom, hallway and utility space in the listing.
At the low end, four AI-staged images could cost as little as $1 based on the quoted $0.25 per-image starting point. At the high end, four human-edited images at $50 each would be $200. Those are image-editing estimates, not total listing costs. [6]
Build the tour in the order online buyers need information
A virtual tour should be long enough to orient a buyer, but short enough to finish. TourEstate AI and Propwalk describe common norms of 15 to 45 seconds for social media, 60 to 90 seconds for standard listings, 60 seconds to two minutes for websites or email, and two to three minutes for luxury marketing. [6][16]
There is no cited evidence that one exact duration produces a specific engagement rate. Treat those ranges as platform conventions, then edit according to what the home needs to show rather than padding the video with repeated shots.
Open with the strongest, most representative space. Move logically through the home, such as entry, living room, kitchen, dining area, primary bedroom and outdoor space, rather than cutting between unrelated rooms that leave viewers unsure of the layout.
Show transitions where they answer a real question. A brief view from kitchen to living area can establish an open plan. A clear pass through a hallway can demonstrate bedroom separation. Long footage of doors opening and closing usually adds little.
For a 360-degree tour, inspect the finished panorama carefully. iPano360 warns that visible stitching seams can ruin a virtual tour, and Simple Virtual Tour also identifies technical tour mistakes as a source of buyer friction. [12][16]
Adjust the message for season and climate
The staging should help buyers notice relevant features without pretending weather does not exist. In hot climates, emphasize air conditioning and shaded outdoor areas. In colder markets or seasons, fireplaces, insulation-related features and comfortable interior light may deserve clearer visual attention.
The research brief gives Miami’s roughly 90°F October conditions and Seattle’s roughly 48°F October conditions as examples of why the same staging emphasis does not fit every market. These are qualitative considerations, not evidence that one decor style converts better regionally.
For warm-weather listing photography, make patios, balconies, usable shade and natural light visible when those are genuine property features. For colder seasons, show that main rooms are bright, orderly and usable without digitally manufacturing a summer landscape.
Disclose the edits before a buyer has to ask
Homes.com recommends disclosure of virtual staging as an ethical practice. [5] Put a plain label directly on each altered image or in immediately adjacent listing copy, using wording such as “Virtually staged” or “Virtually renovated.”
Do not bury the disclosure in the final paragraph of a description or assume buyers will infer it from polished furniture. Clear labeling protects trust, especially where the edits remove furnishings, add furniture, change finishes or depict a renovation concept.
Finally, review every image against the home as it exists. Check windows, flooring, fixture placement, room proportions, shadows and visible defects. The objective is an accurate, appealing online introduction that gets qualified buyers to look more closely.
I am not a licensed real-estate agent, lender or financial advisor. Whether virtual staging is worth the cost depends on your listing budget, local buyer expectations, the home’s condition and how quickly you need to market it.
Frequently Asked Questions
How do I stage a home for virtual tours effectively?
Start with clean, well-lit base photography using a DSLR or mirrorless camera with a 16–24 mm wide-angle lens and natural light. Remove personal items and clutter extensively, more so than for in-person showings, to create a neutral and spacious environment. Use a tripod and set the camera at chest height with vertical lines kept straight for accurate room representation.
What rooms should I prioritize when staging for virtual tours?
Focus first on staging the living room, primary bedroom, and kitchen, as these spaces have the most impact on buyers. After these, lower-priority rooms can be staged. Arrange furniture so that roughly 30% to 40% of the floor area remains visible to avoid over-staging.
How can I improve lighting for virtual home tours?
Maximize natural light by opening curtains and blinds and schedule photography for the time of day when light is most balanced. Supplement with appropriate interior lights and consider techniques like ambient plus bounced off-camera flash (flambient) or HDR bracketing to achieve well-lit, balanced interiors.
What are common mistakes to avoid in virtual home staging?
Avoid over-staging by keeping 30% to 40% of the floor visible and do not overcrowd rooms with furniture. Ensure furniture style and scale match the property and target demographic, avoid floating furniture without shadows, and use high-quality photos with consistent lighting. Also, disclose when images are virtually staged to maintain transparency.
How we researched this
This article was assembled from 16 cited references.
Nothing here is based on hands-on testing. Where a figure or finding appears, it belongs to the source cited beside it, and the writing says so rather than implying otherwise. Every source is listed below so you can check it.
Sources
- How to Virtually Stage a House: A Step-by-Step Guide for Agents (2026) | Compozit | Compozit
- Home Staging Checklist 2026: Physical + Virtual Staging... | Homepics
- 15 Virtual Staging Tips & Best Practices from Experts (2026) | Stager Go
- Virtual Home Staging Trends for 2026 | FotoEstate
- Virtual Home Staging: Guide for Listing Agents - Homes.com - Homes.com
- How Much Does Virtual Staging Cost in 2026? (Traditional vs AI)
- What Is Virtual Staging? The Complete 2026 Realtor's Guide
- How Much Does Home Staging Cost in 2026? Full Price Guide, House AI
- What is AI virtual staging for real estate and how does it work in 2026? | colossis.io
- Virtual Staging: The Complete Guide for Real Estate (2026) – Easy Room AI
- Common Virtual Staging Mistakes and How to Avoid Them
- 7 common 360° panorama mistakes that ruin a virtual tour — and how to avoid them – iPano360
- What Is the Ideal Indoor Temperature for Your Home? - ScienceInsights
- How to Stage a Home for a Virtual Tour | Ask Smarty
- How to Prepare for Home Showings When Selling | The Haney Group Coldwell Banker Heritage — The Haney Group
- Common Virtual Tour Mistakes Agents Make in 2026
Related Articles
How to Stage a Home for Sale: Essential Tips for Sellers
Learn how to stage a home for sale with practical tips to enhance appeal and attract buyers effectively.
Prepare for a Home Showing During Winter: Essential Tips
Learn how to prepare for a home showing during winter with tips on snow removal, thermostat settings, and managing wet boots for a safe, inviting visit.
Prepare Your Home for Showings: Essential Steps for Sellers
Learn how to prepare your home for showings with tips on repairs, staging, decluttering, and timing to attract buyers effectively.

How to Prepare for a Home Appraisal: Essential Tips
Learn how to prepare for a home appraisal with tips on repairs, pricing, and documentation to help maximize your home's value.