
How to Prepare for a Home Sale During Winter
Learn how to prepare for a home sale during winter with tips on maintenance, staging, heating, and protecting your home for buyers and inspections.
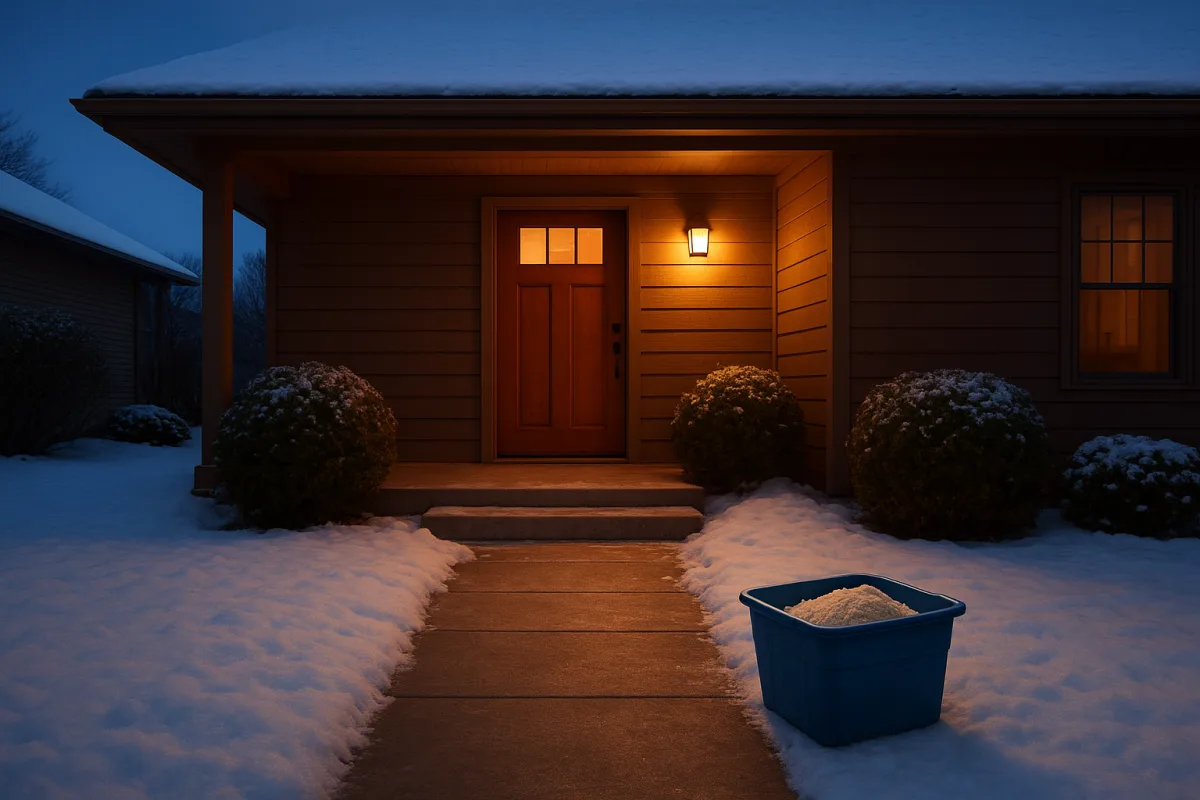
Clear the route to the front door
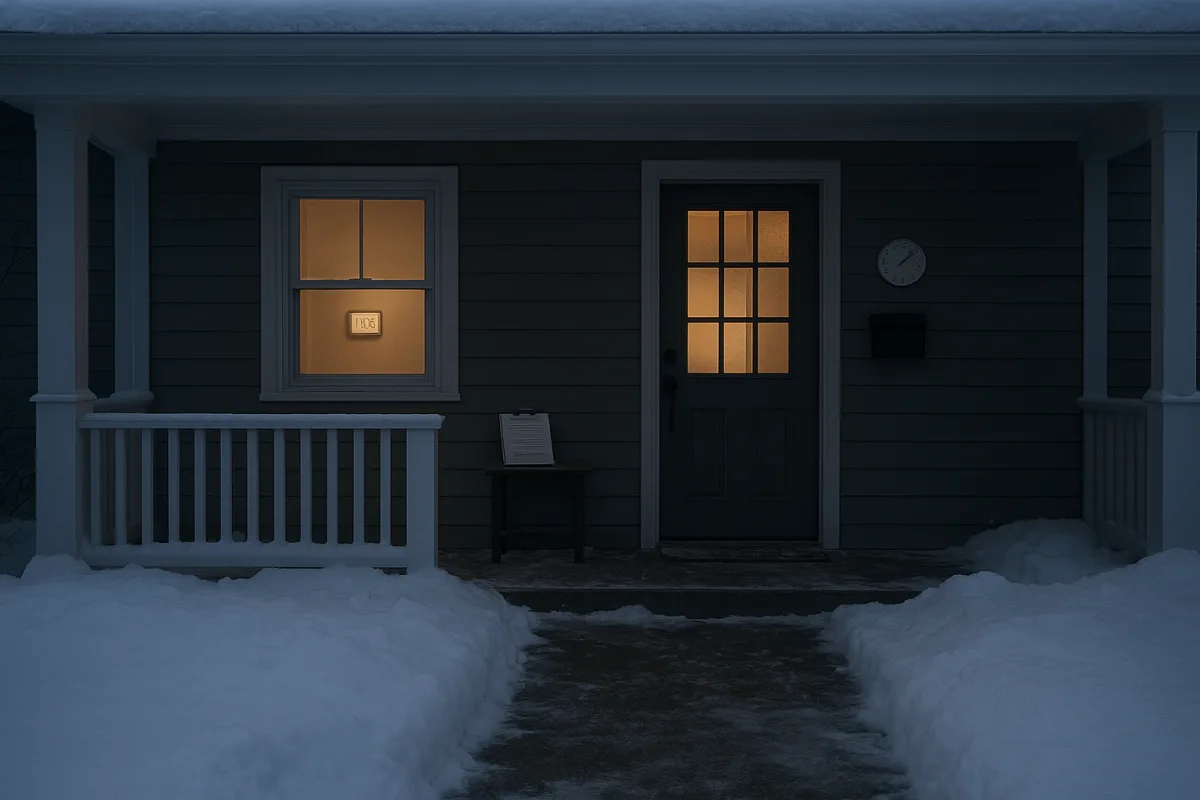
A buyer’s first view may be a dark driveway, a snowbank at the curb, and a wet pair of shoes at the threshold. Start with the route they will walk, from parking area to front door.
Shovel the driveway, steps, walkway, and porch before showings. Use an ice melt labeled safe for plants and concrete, then check the path again after refreezing temperatures or fresh snow. [2]
Snow removal can cost $75 to $125 per visit, while a seasonal contract may run $400 to $600. Those figures vary by property size and location, but a contract can prevent a last-minute showing from becoming a safety problem. [8]
Add exterior lighting where the route is dim. Warm white bulbs can make an entry easier to navigate during short winter afternoons and give the exterior a more welcoming appearance. [2]
We would spend early effort here before buying decorative items. A clear, well-lit, slip-resistant entry addresses access and safety, while decorations cannot compensate for an unmaintained approach.
Strip back holiday and winter décor
A wreath and a pair of potted evergreens can frame the entry without tying the listing to a particular holiday. Keep seasonal decoration subtle, neutral, and limited enough that buyers can picture their own belongings in the space. [3]
Skip large inflatables, dense strings of themed décor, and collections that crowd the mantel, stairs, or porch. The aim is to show the house, not to make buyers work around the current season.
Inside, remove excess furniture and personal items before photographs and showings. Open floor space helps buyers see room size, traffic flow, closets, and storage that bulky furnishings or family possessions can obscure. [5]
The entry deserves a separate pass. Use hooks, a bench, or contained storage for coats and boots, but keep most outerwear out of sight so buyers see the available mudroom or foyer space. [2]
Make the house feel warm, not overheated
Set the indoor temperature between 68°F and 70°F during showings and inspections. That range keeps the space comfortable while helping reduce risks associated with condensation, frozen pipes, mold, and stale winter air. [11]
Use layered lighting indoors, including warm bulbs in the 2700K to 3000K range, to counter early sunsets and dark rooms. A table lamp in a dim corner can make a room’s usable area easier to see. [2]
If the home has a fireplace, clean it and make it a visual focal point. A fireplace can support the impression of a maintained, comfortable living area, but soot, ash, or clutter can instead raise questions about upkeep. [4]
Ventilation and humidity control also deserve attention before buyers arrive. The Environmental Protection Agency warns that cold weather can worsen indoor air quality through condensation and mold conditions, especially in poorly ventilated homes. [1]
Do not run air conditioning when outdoor temperatures are below about 65°F. GL Inspections cautions that doing so can damage the compressor, even if you want a cooler interior for a crowded showing. [12]
Service systems buyers can test in cold weather
Winter gives buyers and inspectors an opportunity to see how the heating system performs under load. A system that short cycles, struggles to maintain temperature, or produces uneven heat can become a visible concern during an inspection. [14]
Schedule furnace or boiler service before listing if it is due. Typical service costs run $80 to $200, depending on the system and local labor rates. [8]
Replace filters, look over the attic for moisture or insulation concerns, and address obvious drafts around windows and doors. These items can become more noticeable when cold air and heating use make them harder to ignore. [19]
Weatherstripping and caulking materials typically cost $30 to $80. Professional installation can range from $300 to $1,500, so get local quotes before assuming a larger air-sealing project will pay for itself in your sale timeline. [8]
A professional water-heater flush usually costs $80 to $150, while a basic professional water-heater inspection can cost $75 to $150. These are maintenance costs, not guaranteed sale-price increases, but they can reduce avoidable questions about system condition. [8]
Protect pipes, roofs, and attic areas
Winterize outdoor water lines before freezing weather arrives. Frozen ground and snow can conceal exterior plumbing, drainage, grading, and foundation conditions, leaving buyers and inspectors with unanswered questions that may need follow-up later. [13]
Pipe-insulation materials generally cost $20 to $60. Professional installation can cost $100 to $300, a range that can make sense if exposed pipes are difficult to reach or you are unsure where freeze risks exist. [8]
Check gutters before snow accumulates. Gutter cleaning commonly costs $100 to $250, and blocked gutters can contribute to ice buildup around roof edges when melting snow has nowhere to drain. [8]
Ice dam removal can cost $300 to $800 per event. If roof snow is accumulating, a roof rake costs roughly $30 to $50, while professional snow removal generally costs $200 to $500 per visit. [8]
Do not promise buyers that a snow-covered roof is problem-free. Inspectors may avoid walking on icy roofs and instead use attic observations, visible roof areas, and other available evidence to assess conditions. [13]
Prepare for a winter inspection
Keep access open to the attic, furnace, electrical panel, water heater, and crawlspace if the property has one. Clear a safe path through snow to exterior equipment and detached structures, because an inaccessible area can delay or limit an inspection.
A winter inspection can reveal heating performance that a summer inspection cannot. It can also leave roof condition, grading, drainage, and landscaping partly obscured by snow or frozen ground. [12]
Before the appointment, make a list of completed maintenance work, service dates, and any invoices you want available. This does not replace an inspector’s evaluation, but it gives you an organized record of routine work already done.
Test smoke and carbon monoxide detectors before listing. Materials can cost $20 to $100, while installation may add $75 to $300 if you hire the work out. [8]
We would not conceal a seasonal limitation, such as snow covering part of the yard or an icy roof preventing close access. A direct explanation and a safe property are better than creating a condition that forces an inspection to stop.
Photograph the home during its best light
Winter listings need photographs that work when buyers browse after dark. Schedule professional photography during the strongest available natural light, then turn on interior and exterior lighting where it improves the room or entry. [3]
Professional photography can help offset winter’s shorter days and show the home’s best features. It is especially important when the lawn is dormant, the sky is gray, or rooms rely heavily on artificial light. [3]
Ask that photos show features a winter buyer can use now: the fireplace, organized entry, garage, mudroom, storage, heating-system areas that look maintained, and any protected outdoor space. Do not rely on summer photos alone if the home now presents differently.
If you have plantings near the entrance, winter-flowering shrubs such as Daphne odora or Sarcococca sweetbox can add fragrance and seasonal interest. They are optional landscaping choices, not a substitute for snow removal or exterior repairs. [6]
Set a price from current local sales
Use current local sales data when setting the asking price, not an old high-season comparable or an automated online estimate. Overpricing can leave a winter listing sitting longer, which can make buyers wonder whether the property has a hidden issue. [19]
Winter demand differs sharply by region. Northern markets can slow because of severe weather and holidays, though fewer listings may also mean less competition for a prepared home. [16]
In Florida, Arizona, and Southern California, winter can bring snowbird demand. Sellers in those markets may face stronger demand but also more competition from other homes marketed to seasonal residents. [17]
Match the presentation to the climate. In colder regions, snow and ice removal are central tasks. In milder winter markets, emphasize features buyers can enjoy during the season, including outdoor areas and warm-weather amenities. [18]
The Greater Milwaukee Association of REALTORS® reports that 63% of winter buyers make offers within two weeks, compared with 48% of spring buyers. That suggests some winter shoppers are moving quickly, but it does not support pricing above current local evidence. [7]
Plan your listing calendar and showing routine
Do not rush a listing live before repairs, cleaning, photography, and winter access are ready. Listing too early can mean weak photos, poor curb appeal, longer market time, and offers that reflect the home’s unfinished presentation. [19]
Build a showing checklist you can repeat: shovel, de-ice, turn on lights, set the thermostat, remove wet boots and excess coats, secure pets, and check that the entry and main rooms look dry and clear.
Keep a small emergency supply on hand for sudden weather. A basic emergency kit can cost $50 to $150, and it can help you manage a power interruption, snowfall, or a showing scheduled soon after a storm. [8]
If you are leaving the property vacant, do not reduce heat so far that plumbing becomes vulnerable. Maintaining a stable interior temperature protects the home and lets buyers experience it under normal winter conditions. [11]
Keep the sale timeline separate from the weather
Once you accept an offer, expect the ordinary escrow, inspection, appraisal, financing, and closing steps to continue. A standard closing period is generally 30 to 45 days, so build your moving, utility, and possession plans around the contract dates. [15]
Winter weather can affect access for an appraiser, inspector, mover, or repair contractor, especially after a major storm. Keep walkways cleared and respond quickly if a lender, buyer, or vendor needs to reschedule an appointment.
Your closing costs and contract obligations remain tied to the terms you negotiate, not to the season. Review the settlement figures, repair agreements, inspection deadlines, and possession date carefully so a weather delay does not become a paperwork surprise.
A winter sale works best when the home looks cared for in the conditions buyers actually see. Clear paths, working heat, accessible systems, current pricing, and bright photos give the transaction fewer places to stall.
Frequently Asked Questions
How do I prepare my home for sale during winter?
Prepare your home by clearing snow, ice, and clutter from the driveway, steps, walkway, and porch before every showing. Use plant- and concrete-safe ice melt and add exterior warm white lighting to improve visibility and create a welcoming entry. Inside, declutter and remove excess furniture and personal items to help buyers see the space clearly.
What maintenance should I do before selling a home in winter?
Budget for winter maintenance such as heating system service, gutter cleaning, pipe protection, and snow removal. Replace furnace filters, check attic insulation and moisture, and seal drafts around windows and doors to improve energy efficiency and comfort. Scheduling furnace or boiler service before listing can prevent inspection issues.
How can I make my home inviting for buyers in winter?
Keep decorations subtle and neutral, such as a wreath or potted evergreens, avoiding heavy holiday themes. Use layered indoor lighting with warm bulbs (2700K to 3000K) to brighten dark rooms and create a cozy atmosphere. Highlight a clean fireplace as a focal point and maintain a comfortable temperature during showings.
What temperature should I keep my home during winter showings?
Maintain the indoor temperature between 68°F and 70°F during showings and inspections. This range keeps the home comfortable for buyers and allows inspectors to evaluate the heating system under normal load conditions while reducing risks of condensation, frozen pipes, and mold.
How do I protect my home’s pipes and roof before a winter sale?
Protect pipes by ensuring proper insulation and addressing drafts around windows and doors. Clean gutters to prevent ice dams and water damage, and schedule heating system maintenance to avoid frozen pipes. Regular snow removal from roofs and walkways also helps maintain safety and prevents damage.
How we researched this
This article was assembled from 19 cited references.
Nothing here is based on hands-on testing. Where a figure or finding appears, it belongs to the source cited beside it, and the writing says so rather than implying otherwise. Every source is listed below so you can check it.
Sources
- Winter Weather and Indoor Air Quality
- Home Staging in Laporte MN: Winter Strategies That Sell
- Selling Your Home in the Winter? Holiday Staging Advice | Redfin
- Staging Your Home for Winter Buyers: Holiday Curb Appeal That Sells
- Professional organisers share 8 time-saving tricks to declutter fast before moving house
- 5 Fragrant Front-Yard Shrubs to Welcome You Home Through Winter With Clouds of Sweet Scent
- Opportunities to Sell a Home in Winter - Greater Milwaukee Association of REALTORS®
- Winter Home Maintenance Checklist - Reno Verra
- 15 Home Maintenance Tasks to Do Before the First Snow
- Winter Home Maintenance Checklist 2026: What to Do Before the Cold Sets In | HomeService USA
- What Temperature Should a House Be During a Big Freeze? The 'Goldilocks' Number You Should Never Ignore
- Can You Do a Home Inspection in Winter? | GL Inspections
- Home Inspection in Cold Climates: What Winter Buyers Need to Know | inspectorwatch.com
- Winter Home Inspection Guide: What to Look For | Total House Inspection
- How Long Does It Take to Close on a House? (30-50 Day Breakdown) | Opendoor
- Selling a House During Winter Holidays: Tips, Pros & Cons | Zillow
- The Best Time of Year to Sell a Home | Okoniq Blog
- Winter Home Selling Tips: How to Prepare and Price Your Home
- The Top Mistakes Home Sellers Make in Winter & Spring (And How to Avoid Them) - Tynan Anderson
Related Articles
Prepare for a Home Showing During Winter: Essential Tips
Learn how to prepare for a home showing during winter with tips on snow removal, thermostat settings, and managing wet boots for a safe, inviting visit.
How to Prepare for a Virtual Home Tour: A Seller’s Guide
Learn how to prepare for a virtual home tour with tips on staging, decluttering, repairs, and choosing the right tour format to attract buyers.
Best Time to Sell a Home in Winter: Market Insights for 2026
Discover the best time to sell a home in winter with 2026 market insights on pricing, timing, and strategies for a successful winter sale.
Winter Home Selling Tips: How to Prepare and Price Your Home
Discover winter home selling tips including preparation, pricing, and maintenance to help you sell your home effectively during cold months.